In the previous tutorial, we covered how to register a domain name and set up hosting Register a Domain and Set Up Hosting | Website Guide Part 3. In this tutorial, we’ll guide you through set up and customize website using WordPress.
Building a website doesn’t have to be complicated. With WordPress, even beginners can create and customize a website that looks professional and functions well. In this tutorial, we’ll walk you through the key steps to set up and personalize your WordPress site to match your brand and needs.
Step 1: Install WordPress on Your Hosting
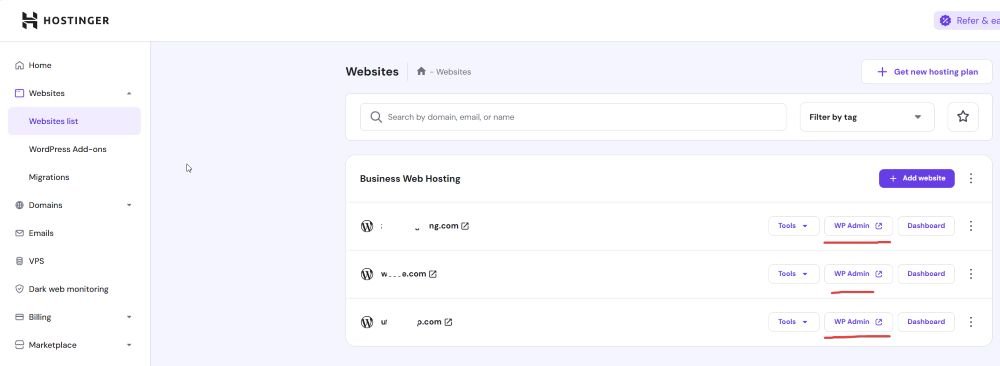
Most hosting providers like Hostinger or Bluehost offer a one-click WordPress installation. Once installed, you can access your site via yourdomain.com/wp-admin.
Take hostinger as sample:
Step 2: Choose and Install a Theme
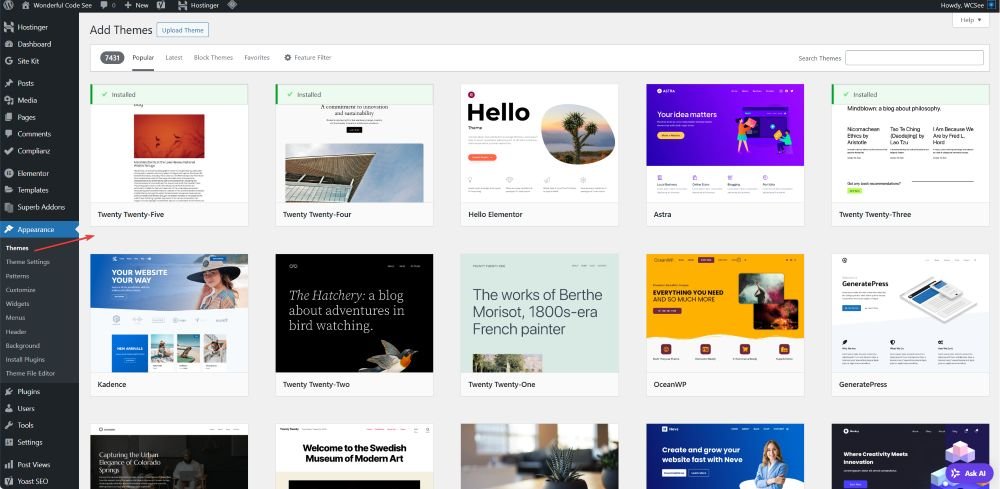
Navigate to Appearance > Themes in your WordPress dashboard. You can explore free themes from the WordPress repository or upload a premium one. Choose a theme that is responsive, fast-loading, and matches the style of your content.
✅ Recommended free themes: Astra, Neve, or OceanWP
✅ For customization flexibility, consider Elementor-compatible themes.
Step 3: Customize the Appearance
Go to Appearance > Customize to adjust the logo, color scheme, header, footer, fonts, and homepage settings. You’ll see a live preview of your changes. Use this to match your site’s look and feel to your brand.
Step 4: Install Essential Plugins
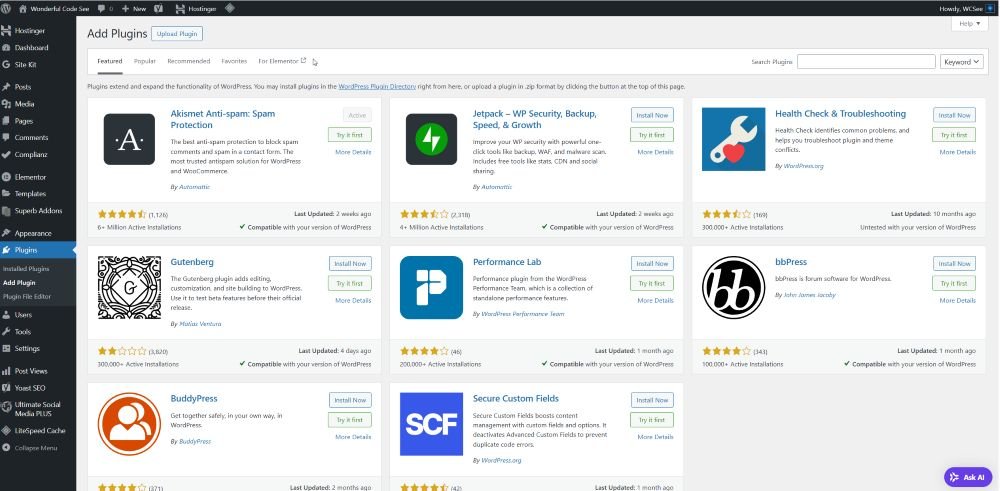
Plugins extend your site’s functionality. Here are some essential ones:
- Elementor – drag-and-drop page builder
- Yoast SEO – improve search engine visibility
- WPForms – add contact forms easily
- UpdraftPlus – backup and restore your website
- Wordfence Security – secure your site
To install plugins, go to Plugins > Add New, search for the plugin, then click Install and Activate.
Step 5: Set Up Key Pages
Start with the basic pages:
- Home
- About
- Contact
- Blog
Use your theme’s page builder or the WordPress Block Editor (Gutenberg) to structure content. Add images, headings, buttons, and links to create engaging content.
Step 6: Configure Settings
Go to Settings > General to update your site title, tagline, and time zone.
Under Settings > Permalinks, choose “Post name” for SEO-friendly URLs.
You can also set your homepage via Settings > Reading if you want a static homepage instead of the default blog post listing.
Step 7: Optimize Your Site
Before launch, review your site’s speed, mobile responsiveness, and SEO readiness:
- Speed Test: Use tools like GTmetrix or Google PageSpeed Insights
- Mobile View: Test with Chrome’s Developer Tools
- SEO Check: Use Yoast SEO or Rank Math to analyze on-page SEO
Final Tip: Keep It Simple and Scalable when Set Up and Customize Website
Don’t overload your site with too many features at once. Focus on delivering value with clear navigation, useful content, and a mobile-friendly experience. You can always scale features as your website grows.
Check following series to build a website from scratch.

- Build a Website from Scratch – Step by Step Guide for Beginners
- Define Your Website Purpose – Start a Website Guide – Part 1
- Right Website Platform or Builder – Start a Website Guide Part 2
- Register a Domain and Set Up Hosting | Website Guide Part 3
- Set Up and Customize Website | Website Building Tutorials Part 4
Related posts:
 How to Build a Website from Scratch (Step-by-Step Guide for Beginners)
Choose the Right Website Platform or Builder | Building Website Tutorials Part 2
Register a Domain Name and Set Up Hosting | Building Website Tutorials Part 3
Define Your Website Purpose Clearly | Building Website Tutorials Part 1
How to Build a Website from Scratch (Step-by-Step Guide for Beginners)
Choose the Right Website Platform or Builder | Building Website Tutorials Part 2
Register a Domain Name and Set Up Hosting | Building Website Tutorials Part 3
Define Your Website Purpose Clearly | Building Website Tutorials Part 1
 IT Audit Guide 05: IT Audit Process (Step-by-Step Guide)
IT Audit Guide Part 7: IT Audit Deliverables
IT Audit Guide 05: IT Audit Process (Step-by-Step Guide)
IT Audit Guide Part 7: IT Audit Deliverables
 How to Check SSL/TLS Versions and Cipher Suites on macOS and Windows
 How to Export Wide Excel sheet to PDF Without Cutting Columns